The Reconstruction
Well, I thought long and hard about what I was going to do about
getting the bike back together. My options were complete track
plastics, in which case it's a track bike, period, buy both street and
track and switch back and fourth, buy aftermarket street fiberglass, or
just replace what's broke and leave it at that.
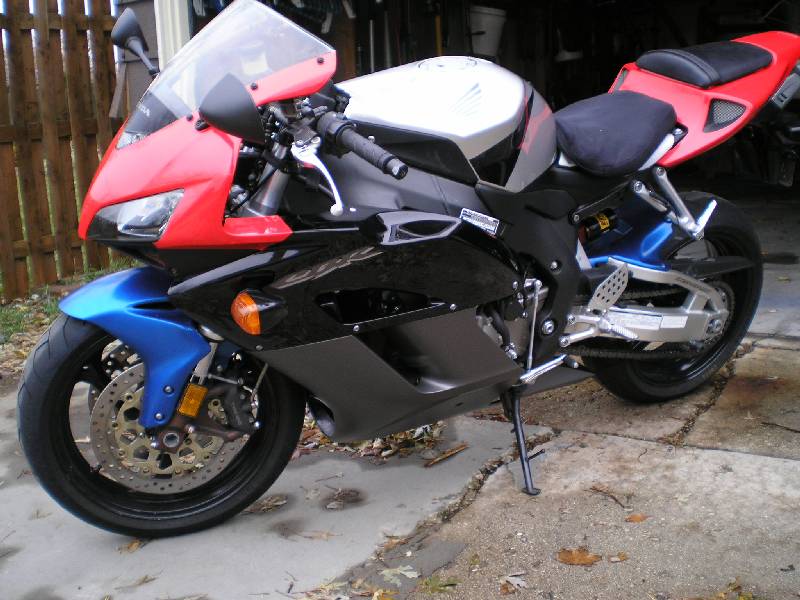
Here's what I finally decided to do:

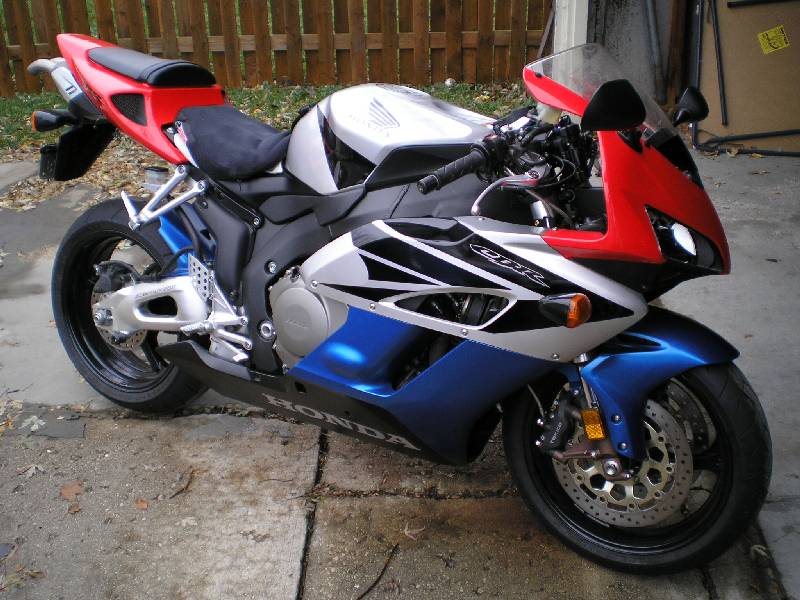
Oh, and here's the other side:

Vote for your favorite side.
That's right, I just replaced what was messed up. It actually
ended up being about the same price that I'd pay for unpainted track
plastics; thanks to the folks at www.1000rr.net
and of course our friends at Ebay... Ebay is your fiend. So, why not?
The only part that I bought new was the black, left, mid, and I got
that from Service Honda,
shipped, for less than people were paying on Ebay for used parts.
So, now I have my choice, I can ride it the way it is... looking like
some Cheby's I've seen. Or I can start swapping out parts until I
get the look I want.
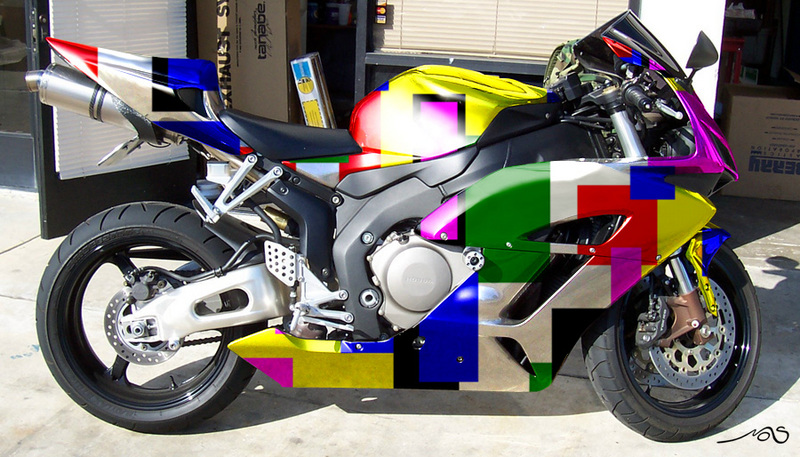
I was actually thinking about doing something like this:

Not bad huh? I did up the pattern and had one of the chop shop
wonders over at 1000rr.net chop it onto a CBR image he had. Nice
job he did.
I discovered some things as I was working on the bike. I took the
bike for a ride after I got the tail and the nose piece. At one
point I looked down, and my triple clamp is pointed slightly right but
the bike is going straight. Holy crap, did I bend the
frame? I took it home, loosened up the front end, slid the fork
tubes out, checked the tubes, checked the steering head bearings,
everything looked fine. Guess it landed hard enough somehow to
just missalign the front end. I lined everything up, tightened it
down, and it looked good. Later I took it for another ride, but
it still looked like the tripple clamp was pointing slightly
right. So, loosened it all up again, and while it was loose, gave
it a good twist, then tightened it back down, and now it looks
good. Whew!
Also, as I was mounting the body panels the nose seems to be off by
about 1/8" or so to the left. I'm thinking the bracket that holds
the nose on is slightly bent. That's easy enough to replace, but
I'll leave it for now. Also discovered that the fairing mounting
bracket on the left side was slightly pushed in and up, so bent that
back and now it's looking good.
I found out one other thing while I was putting it together. When
my shield broke off the nose, all the plastic screws that hold it in
place were broken. Now, I can't imagine wheat frikin Honda would
charge me for those stupid little screws, so I went looking around for
plastic 5M metric screws but couldn't find any. Of course they
had to be metric cause the little rubber rivet/grommet thingies that
they screwed into were metric. I was missing a few of those to,
and that really pissed me off. Last time I went to Honda, I paid
like 12 dollars for four of those things. No it's not much, but I
hate getting ripped off... it's the principal of the thing. Then
it dawned on me. Someone else has to sell those rubber
things. So, I went up to McMaster
Carr and sure enough they had them. They call them Rubber-Insulated Rivet Nuts, under $6 for
a box of ten, but they didn't have them in Metric. But, they did
have them in 10-32 which is almost identical to a 5M screw, so buy some
Rivet Nuts, and a box of 100 plastic 10-32 screws and I was done.
The screws came like the next day, but the Rivets were coming from a
different location. And I'm itching to get that shield on and
take the bike for a ride, so I try using the 10-32 screws in the
existing metric Rivet Nuts, and THEY WORK! Ok, I'm easily
excited... Borrow some Nuts from panels I wasn't using yet, took
the 10-32 screws, and some rubber faucet washer (no I'm not kidding),
and attached the shield. You know, I could make some money
selling this stuff at three times purchase price... like my Honda
dealer.
Ah well, just in time to put it away for the winter... course there is
a 50 degree day coming later next week... I won't put it away just
yet...


