How I Make Sourdough Bread
Why? Because bread
you buy in the store is either really expensive (like Ezekiel
organic sprouted) or is just bleached processed flour filled with
preservatives and sugar, which is bad for you and gives bread a BAD
NAME. Sourdough, because it's easier to digest.
This seems like a
crazy process, but like anyting, once you've done it a few times, you
don't have to think about it. And then you can modify it as you want.
I have to say that a certain person I know actually makes bread better than me. By better I mean it rises better during baking and is more aesthetically pleasing. So, I'm going to briefly describe the main difference from what I'm going to give as my process.
The more "bread flour" you use the easier it is to get the bread to rise. But my primary concern is to make a hearty, healthy, bread, not an aesthetically pleasing one. Fact is that there is no way to make a bread which is very high in whole grains to rise like bread flour bread. So, I'm willing to give up some "fluffiness" to make a more healthy bread. It tastes great anyway.
I think the key points of the other method I know are.
1. The dough is lighter, has less whole grains in it.
2. The dough is a
bit on the softer side; more pliable, more stretchy without breaking.
3. You "stretched and folded", not kneaded.
4. After the second
rise its stretched and folded, and allowed to sit again for about an
hour, before putting in pans.
5. Separated and
then placed into preheated (425 degree) glass or ceramic/clay
pans, lined with parchment, and covered when placed in the over. (This
preheating process seems to be the main key to getting more rise. It
keeps the top crust moist allowing more expansion.)
6. Bake for 20
minutes, and then uncover and sliced the top with a razor. You
can also slice before putting in the oven.
The Sourdough Starter
If you don't have any Sourdough you can make on.
1. Take a 12-16 oz jar, fill it 1/3 with a thick mixture of flour and water. Thick enough so that it just starts to pour when you turn the jar at a 45 degree angle.
2. Put some gauze of cheese cloth over it to keep out the bugs.
3. Set it outside, like on a windowsill, for 3-5 days. Not in the sun. Check it daily, make sure it's not drying out. Mix and/or add water as needed.
4. You should start to see it bubble. When you see that, you can bring it in, feed it a bit more, like half the jar (add water and flour).
5. Leave it on the counter, it should continue to bubble and grow. Mix it with spoon handle or a chopstick, to knock it down.
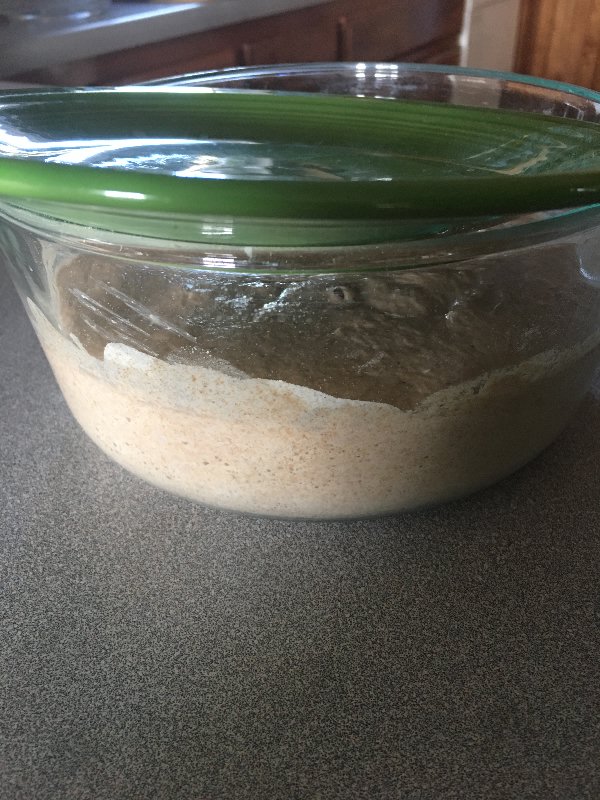
To maintain the starter. You keep it in the fridge. The thicker you make it, the longer it can stay without needing care, but sometime between 1-2 weeks, you want to add a bit more flour and water. When it starts to getting to full in the jar you can remove some. Toss it, or make a pancake out of it. You probably want to do this for a month at least so that the batch establishes itself, before you make bread out of it.
I have actually
ignored the starter for weeks. Sometimes you add flour and water and it
comes back. There have even been times (after weeks) when it
starts to look funky on top, like moldy. I've scraped that off,
added flour and water and it's fine. Thos little bugs are
resiliant. But, there may be times when you add water and flour
and there's not rise, even if you let it sit out at room
temperature. Then you have to start from scratch.
Making the Bread
Flour, water, eggs
(optional), salt, butter, some oil or melted butter (optional).
1. You can get any
whole wheat bread recipe for ratios of water to flour. I don't use a
recipe any more, I do it by feel. Note that flour settles in the
bag, so it's good to mix it up, in the bag, to break it up before
measuring. Some say
sift it when measuring. I use 3-3/4 cup flour per loaf of bread.
2. Take out the
starter, pour most of it into a bowl at least twice the size of the
jar. Water it down first.
Then add and mix in flour.
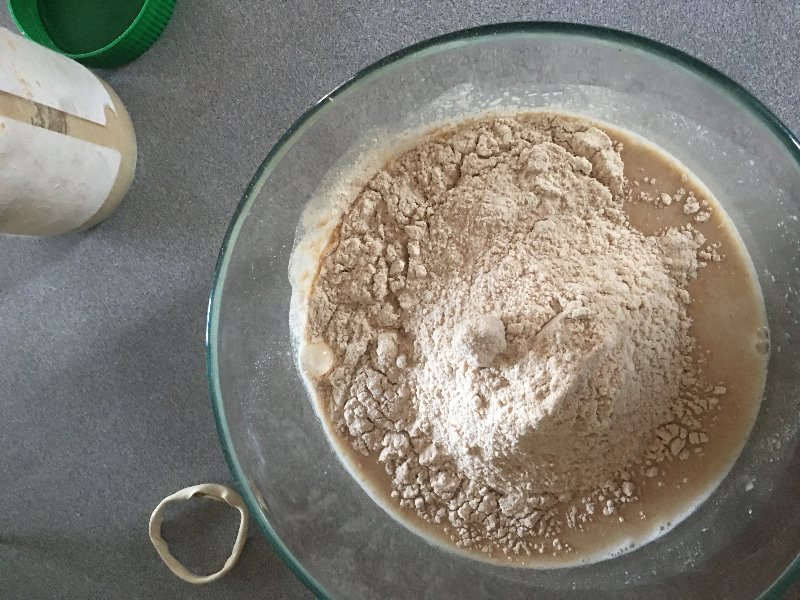
Your goal is to basically double or triple the amount of starter you got out of the jar. It's OK to make it thicker than the starter jar, but so it's still mixable with a spoon.
3. Let that sit, covered (I put a plate over it), at room temperature.

4. When the dough has doubled in size, you can put it in the fridge overnight, or use it right away.
5. Put all your
starter into your mixing bowl, water it down first,
add an egg or two, mix it in.

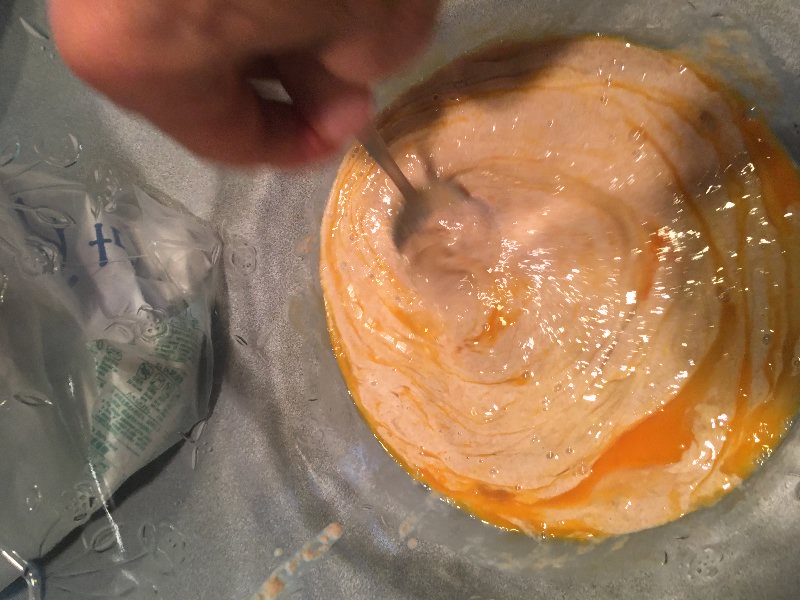
6. I use equal parts whole wheat and whole rye and slightly less acorn flour, and slightly less white flour. It's never the same twice. Mix and match. Like I said, I use 3-3/4 cups flour for each loaf.
7. I put my acorn flour in next, mix that up. The dough should still be mixable with a spoon (not thick enough to kneed).
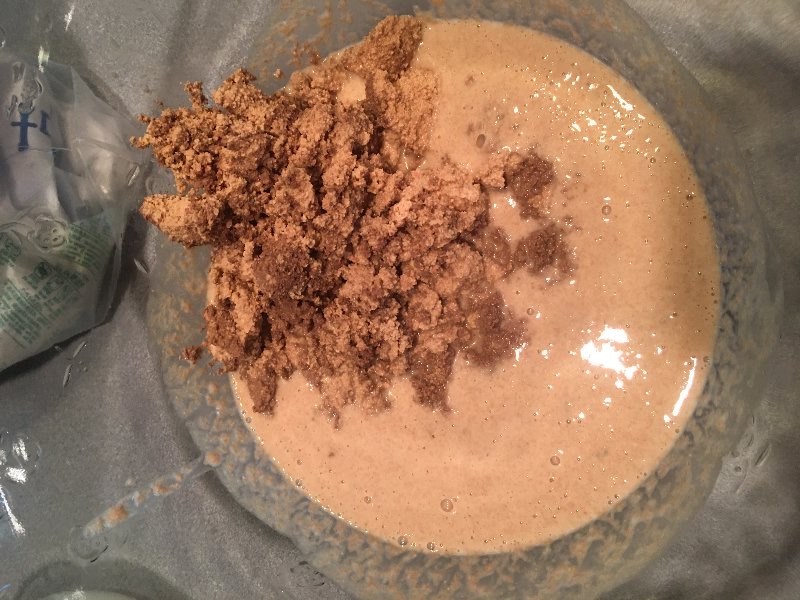
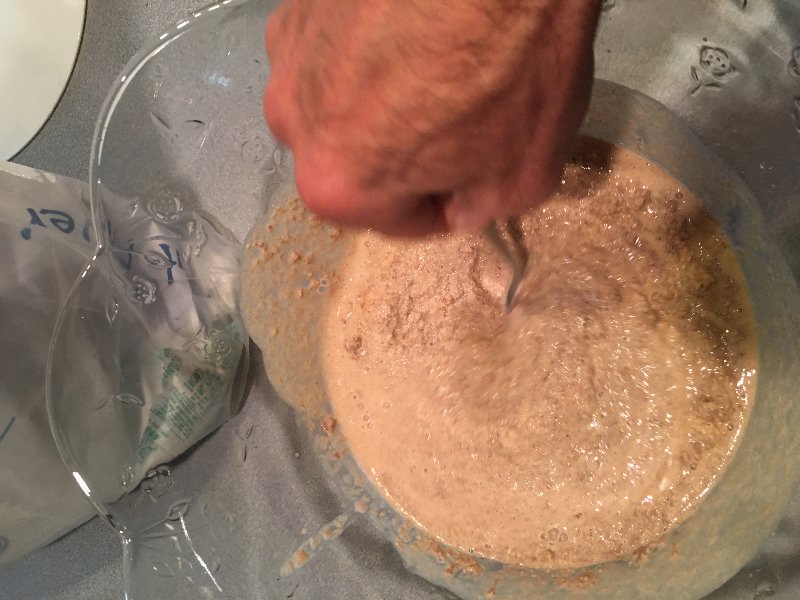
8. Add the other
flours, and some salt (sea salt or Himalayan). Sometimes I'll
also add cooked rice, or raisins, nuts or oatmeal. Start with small
amounts. If you put in a ton, the bread won't rise properly.
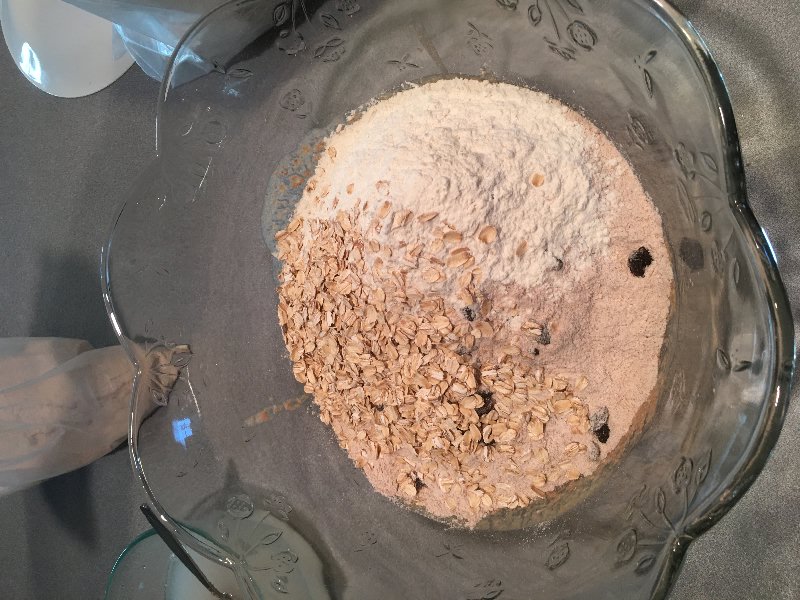
9. Start mixing with a large spoon. It should get really thick, where you can barely do it with a spoon any more, obviously too dry for a dough.
10. The goal at this
point is to get it to the right consistency, by adding water until
you get that. It's going to be softer than cookie dough. The way to do
that is to pour some of the water along
the sides of the bowl, and then use your hand to push the water down
along the bowl surface, fold that handful over toward the bowl
center, mash it down with your knuckles, and work your way around the
bowl. Add more water around the edge of the bowl and repeat. The key
here is your hands have to stay wet for the dough not to stick.
As you add more water the dough becomes more pliable. After you
have the right consistency, to avoid adding excess water, you can dip
your hand/s
in a water bowl to prevent sticking. Keep folding and mashing down
until
your mixture is uniform. If the doug is stiff like playdough, keep
folding and mashing in more water.
11. Cover (with a
plate or other flat pan and a cloth on top) and let rise until it
rises about 50%. If you want it to rise faster you can put it in the
over, turn the oven up to 200, let it heat for half a minute (just
until the heat barely starts), and then shut it off. I also turn the
oven light on to generate a bit of heat. OR, You can first put the
dough into the fridge overnight. This will slow the growth process,
give more time for the dough texture to develop.
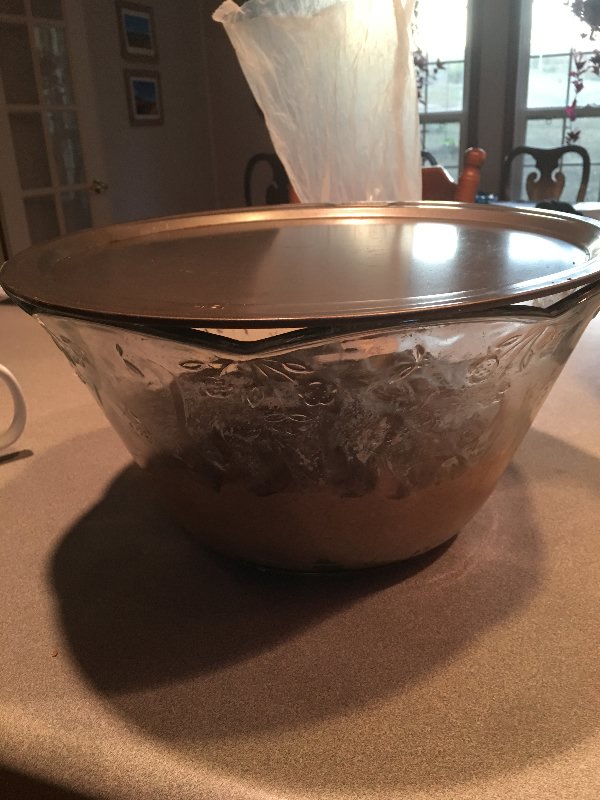

Then you take it out the next day and go through the process of letting it rise. It can be that when you take it out of the fridge overnight, it has already risen enough.
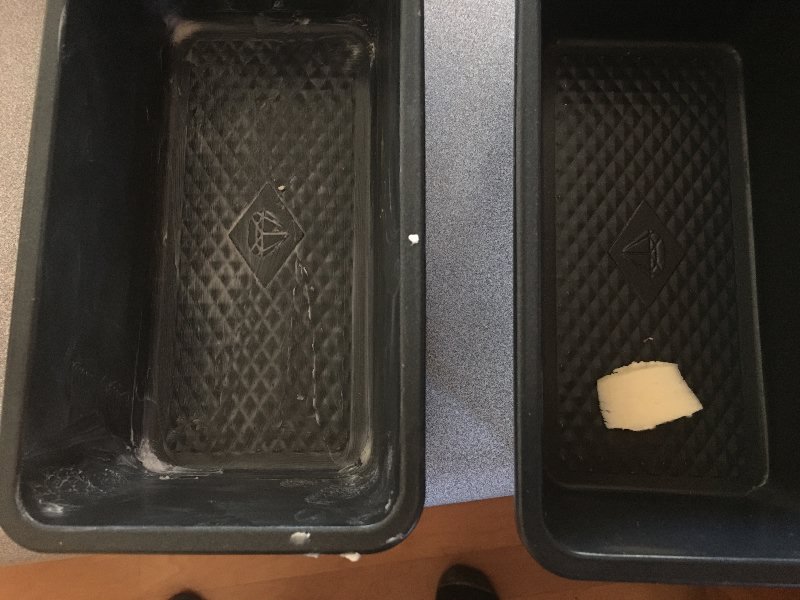
12. Once it's risen 50% (this is the first rise) you get the pans ready by buttering them. I just put a splotch of butter, like what you may spread on a piece of toast, plop it in the pan and spread it around with your my fingers. Make sure to cover everything and pretty evenly (The pan has to be dry, your hands have to be dry).
13. With wet hands again, fold the dough a bit, but don't mash (kneed) with your knuckles (don't collapse it completely; if you do it will just take longer to rise again).
14. Drop the dough in the greased pan. If you are making more than one loaf, then separate and drop in pans. My dough is usually a bit too thick to flow, so I may press it down a bit to conform it to the pan shape, but probably not necessary.
15. Ideally you have more bread pans to use as covers for those. Covering will help keep the dough moist, while it re-rises close to level with the top of its pan or doubles, which ever is less, in about 1-2 hours.

16. When it has risen turn the oven to 425, keep covered.
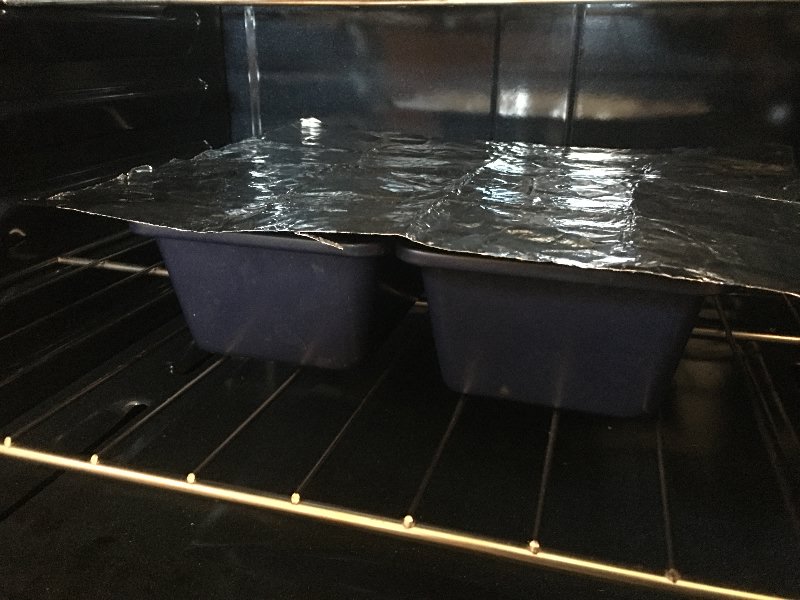
17. In about 20 minutes remove the cover and lower the temp to 375. (Note, if you cover with aluminum foil instead of another raised pan, chance is your dough could rise to the foil and stick to it. If that happens, just leave it and bake with the foil on it. Otherwise you'll rip the dough and it will probably collapse to some degree. Which is why it's better to have a pan as a cover. I've also done it without a cover. If you don't use a cover then just turn the oven to 350 when you're ready to bake.)
18. The bread should bake in less than an hour total time. At about the 50 minute mark start looking at it. If the bread is starting to separate from the sides of the pan (shrinking away from the pan) you're done. Leave longer if you like a thick crispy crust.
19. Turn the pan over on a cooling rack and the bread should drop right out (if you put enough butter on the pan). If not, you can leave the bread, in the pan, sitting on a cooling rack for 15-20 minutes, and try again. The cooling process can help the bread break away from the pan, so that it drops out. If that still doesn't work, slide a silicone/plastic spatula down around the sides of the pan to break the sides free.
20. Let cool on a rack (for as long as your will power allows).
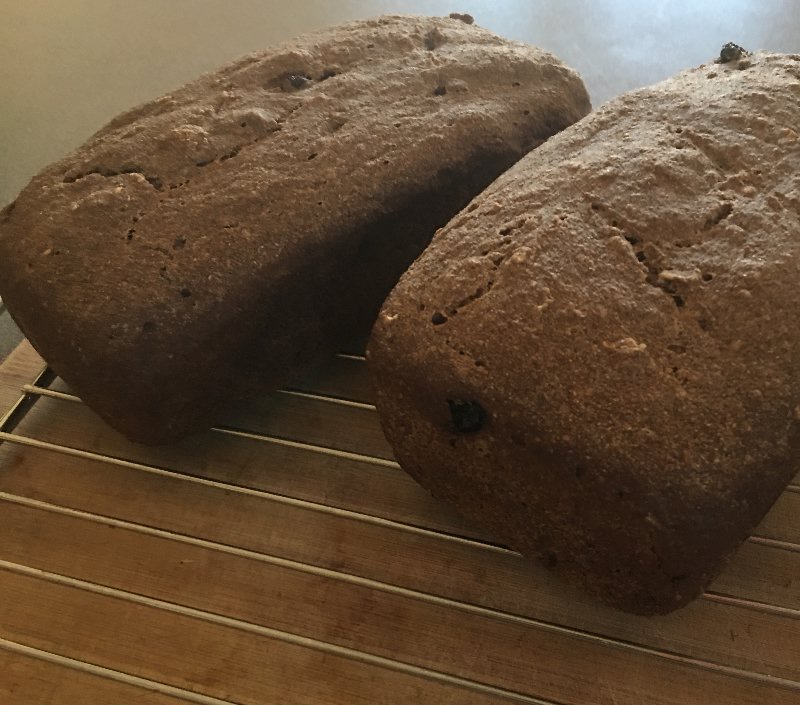
21. Let the bread cool on the rack over night at least. Next day, slice it (use a sharp kitchen knife, not a serrated "bread knife"). Put the slices on top of each other in a bag (kind of like fallen dominoes, laying on each other but slightly staggered) and freeze. This staggering allows you to break frozen slices away from each other when you want some. If you just leave the slices together, like a normal loaf, they will all stick together and you can't get them apart when frozen.
22. I unfreeze in a toaster. Microwave will work if you wan the bread to be more moist. Depending on how much you make and how quick you eat it, you could get away with keeping it in the freezer and not worry about the freezing. I make 3-4 loaves at a time, so I freeze.
Einkorn Flour
Ancient grain flours
like spelt, rye, buckwheat are best, with whole wheat at some percent.
Buckwheat hs very little gluten so you have to combine it with
something else. There's also
Einkorn flour. It has a completely different gluten structure
(simpler) than modern wheat, and less of it. Some people with
gluten issues can
eat it. It's getting really expensive, but I use to buy it from Jovial
Foods. They do now sell it in some supermarkets, but it's even
more expensive there. There are other sources, but price is about
the same. If you're going to use just Einkorn, follow Jovial's
recipe and measure carefully. That dough is even more finicky and
you have to get the right ratio of flour to water right. The
dough will be very sticky, and you spoon it into the pan. It's
should be too sticky to be handled.